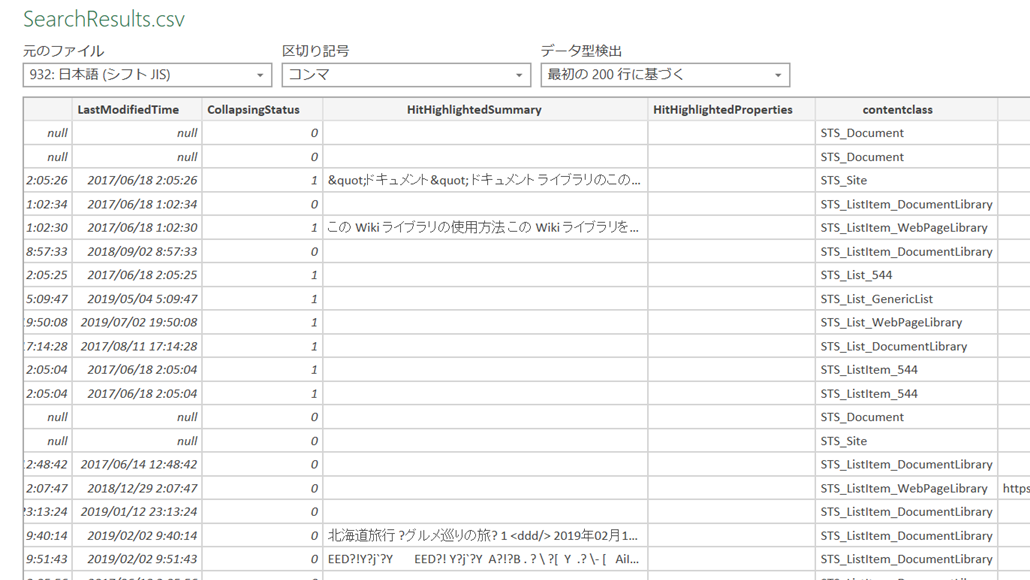
検索結果をCSV出力する方法をご紹介します。
事前準備
PnP PowerShellをインストールしておいてください。
ps1ファイルを作成・実行
以下のps1ファイルを作成・実行します。
# SharePoint接続情報
$targetUrl = "https://<<tenant>>.sharepoint.com/sites/<<siteCollection>>"
Connect-PnPOnline –Url $targetUrl –Credentials (Get-Credential)

# 検索条件
$query = "*"

# CSVファイル出力先
$outputFile = "C:\Work\SearchResults.csv"

$queryResults = Submit-PnPSearchQuery -Query $query -All
$psObjectResults = $queryResults.ResultRows | % { New-Object PSCustomObject -Property $_}
$psObjectResults | Export-Csv $outputFile -NoTypeInformation -Encoding Default
実行が完了すると、プログラム上で指定した場所に、CSVファイルが作成されています。

CSVファイルには、以下の情報が掲載されています。

| № | 列 |
|---|---|
| 1 | Rank |
| 2 | DocId |
| 3 | WorkId |
| 4 | Title |
| 5 | Author |
| 6 | Size |
| 7 | Path |
| 8 | Description |
| 9 | Write |
| 10 | LastModifiedTime |
| 11 | CollapsingStatus |
| 12 | HitHighlightedSummary |
| 13 | HitHighlightedProperties |
| 14 | contentclass |
| 15 | PictureThumbnailURL |
| 16 | ServerRedirectedURL |
| 17 | ServerRedirectedEmbedURL |
| 18 | ServerRedirectedPreviewURL |
| 19 | FileExtension |
| 20 | ContentTypeId |
| 21 | ParentLink |
| 22 | ViewsLifeTime |
| 23 | ViewsRecent |
| 24 | SectionNames |
| 25 | SectionIndexes |
| 26 | SiteLogo |
| 27 | SiteDescription |
| 28 | deeplinks |
| 29 | importance |
| 30 | SiteName |
| 31 | IsDocument |
| 32 | FileType |
| 33 | IsContainer |
| 34 | WebTemplate |
| 35 | SecondaryFileExtension |
| 36 | docaclmeta |
| 37 | SPWebUrl |
| 38 | UniqueId |
| 39 | ProgId |
| 40 | LinkingUrl |
| 41 | OriginalPath |
| 42 | EditorOWSUSER |
| 43 | DisplayAuthor |
| 44 | RenderTemplateId |
| 45 | ranking_features |
| 46 | ResultTypeIdList |
| 47 | PartitionId |
| 48 | UrlZone |
| 49 | Culture |
| 50 | ResultTypeId |
| 51 | piSearchResultId |
Submit-PnPSearchQueryについては、下記に詳細が掲載されています。
以上、検索結果をCSV出力する方法でした。